

Your first workflow
A BlockNext workflow is a set of nodes (actions) connected on a drag-and-drop canvas. Each node does one thing — send a Slack message, ask an LLM, create a Google Doc — and passes its output to the nodes connected after it.
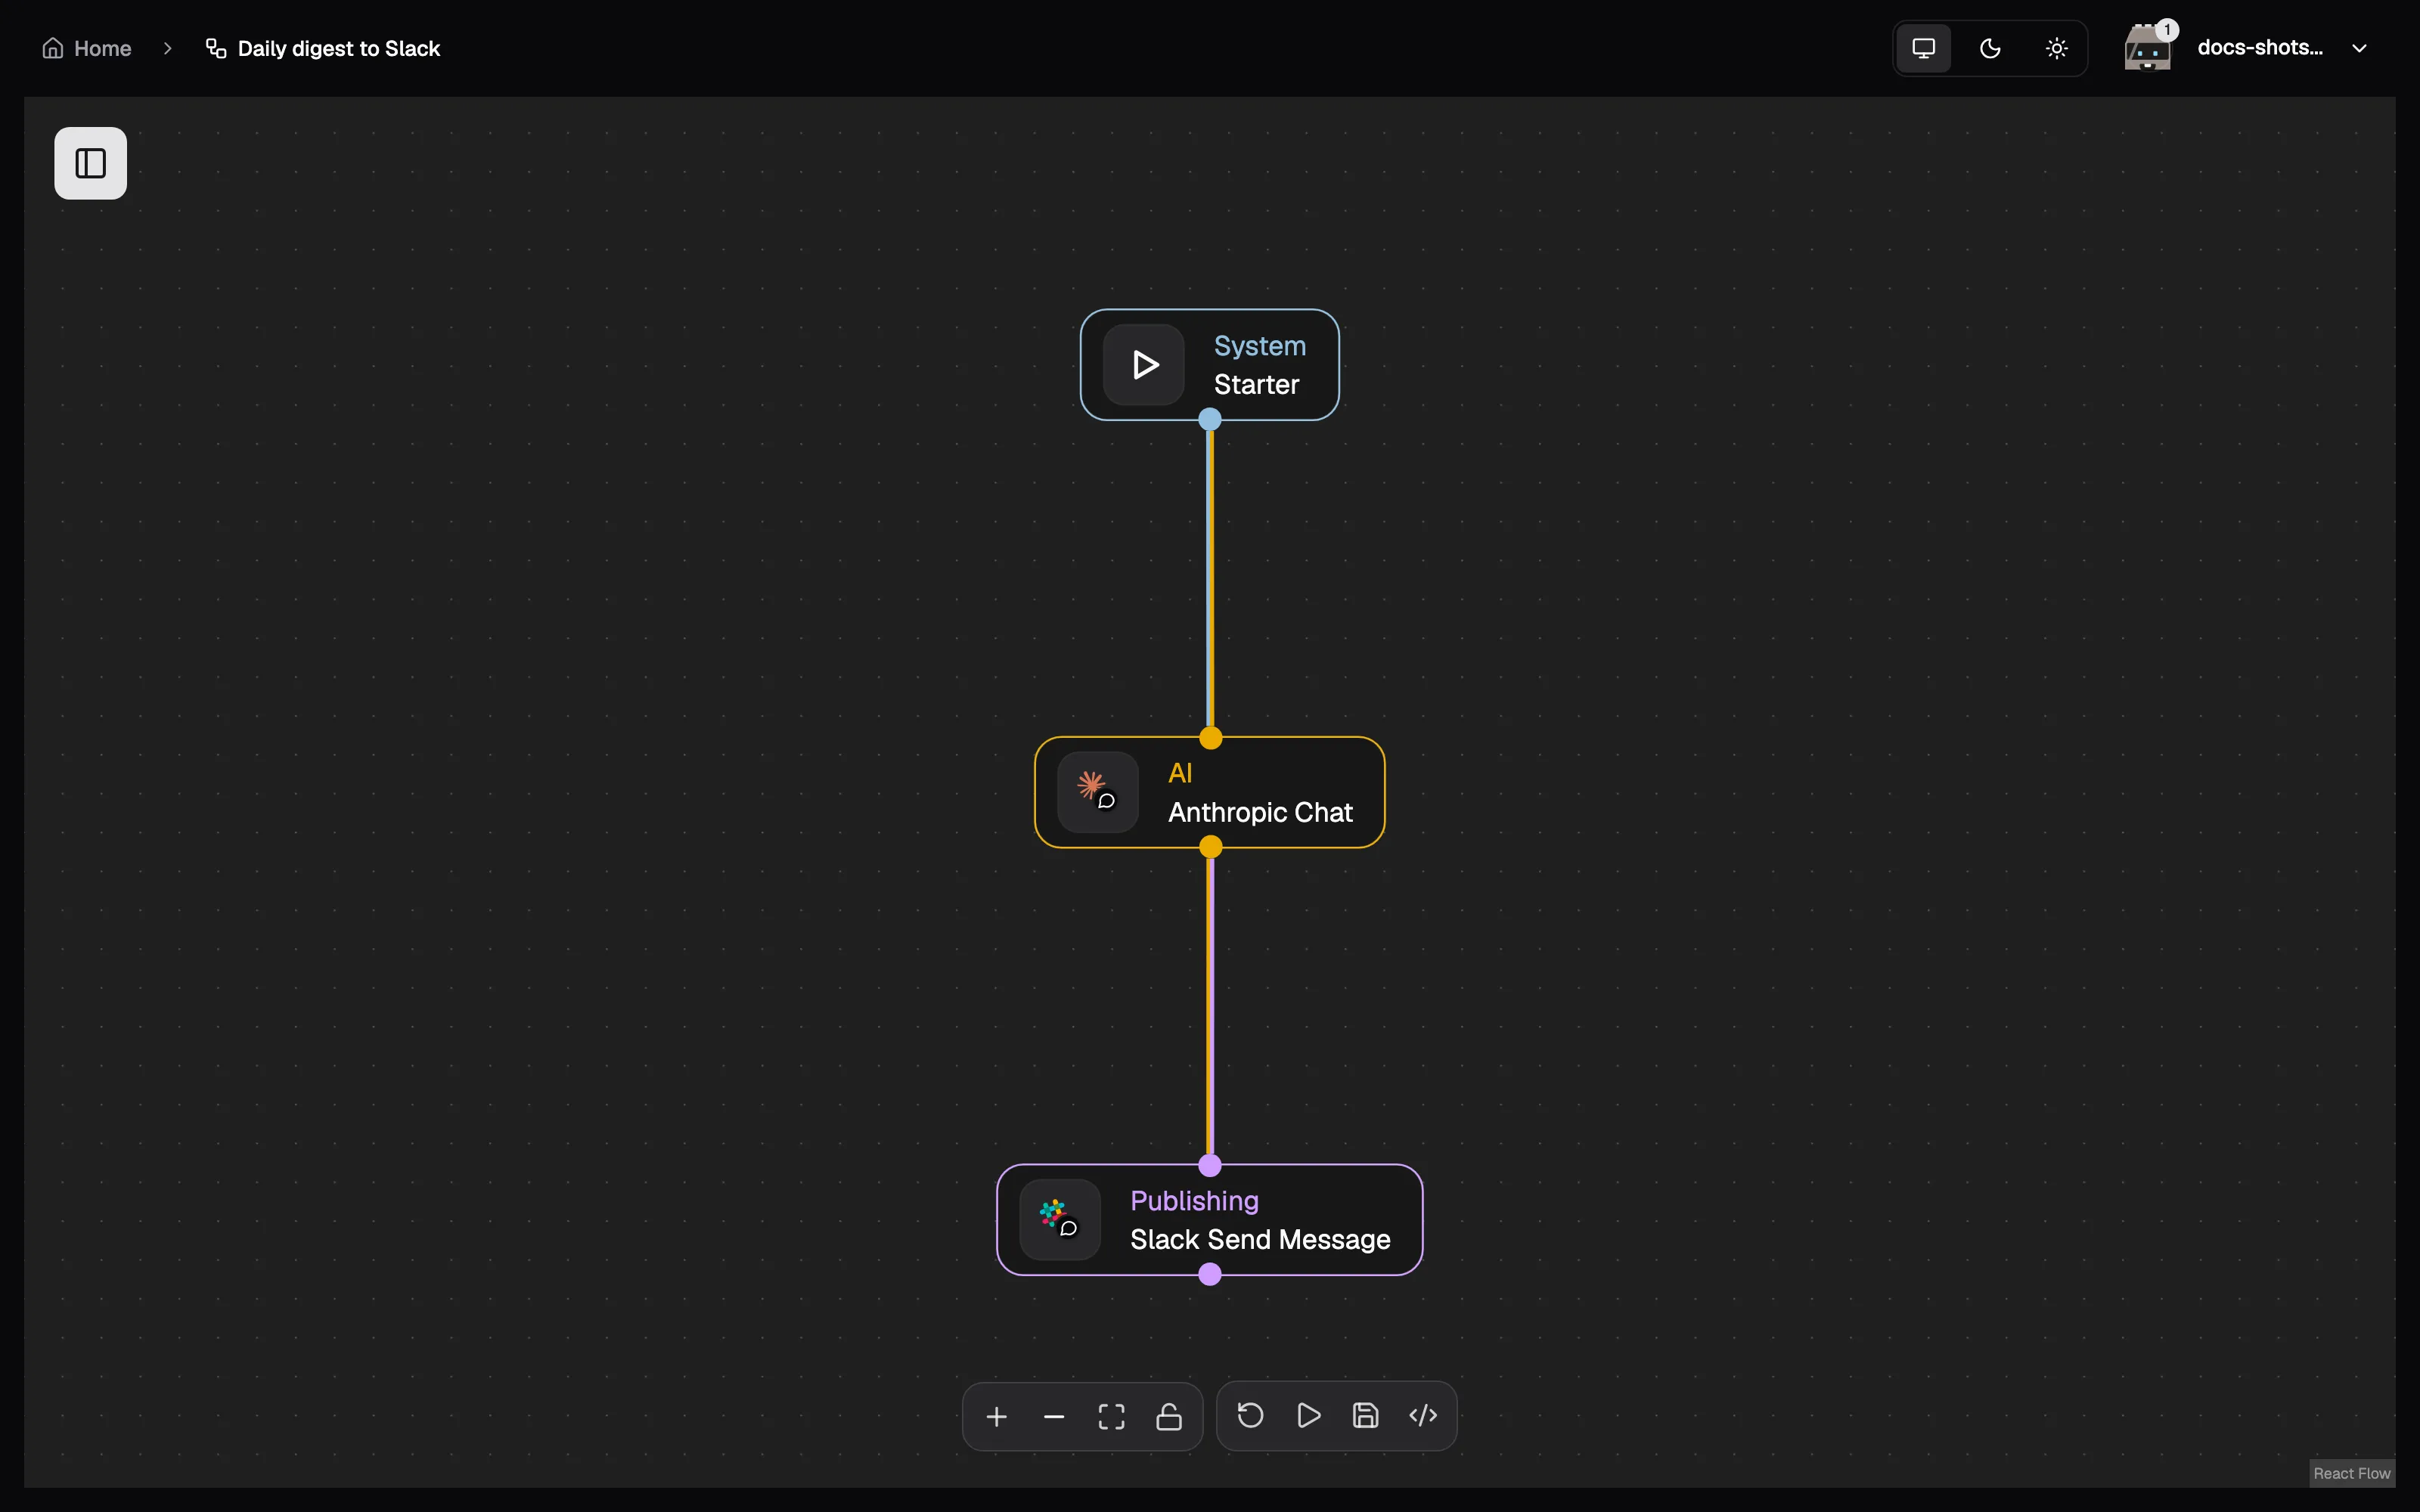
On your first visit the app walks you through all of this with a short guided tour — this page follows the same path.
The model, in one minute
Section titled “The model, in one minute”BlockNext flows are deliberately simple:
- No loops, no sub-workflows, no expression language. A flow reads top-to-bottom as “when X happens, do A, then B.”
- Nodes pass lists of records. Every node outputs a list; the next node runs once per record. Fan a flow out into parallel branches and they execute concurrently where dependencies allow.
- Conditions branch, they don’t compute. The
conditionsystem node routes records down one branch or another.
Building a flow
Section titled “Building a flow”-
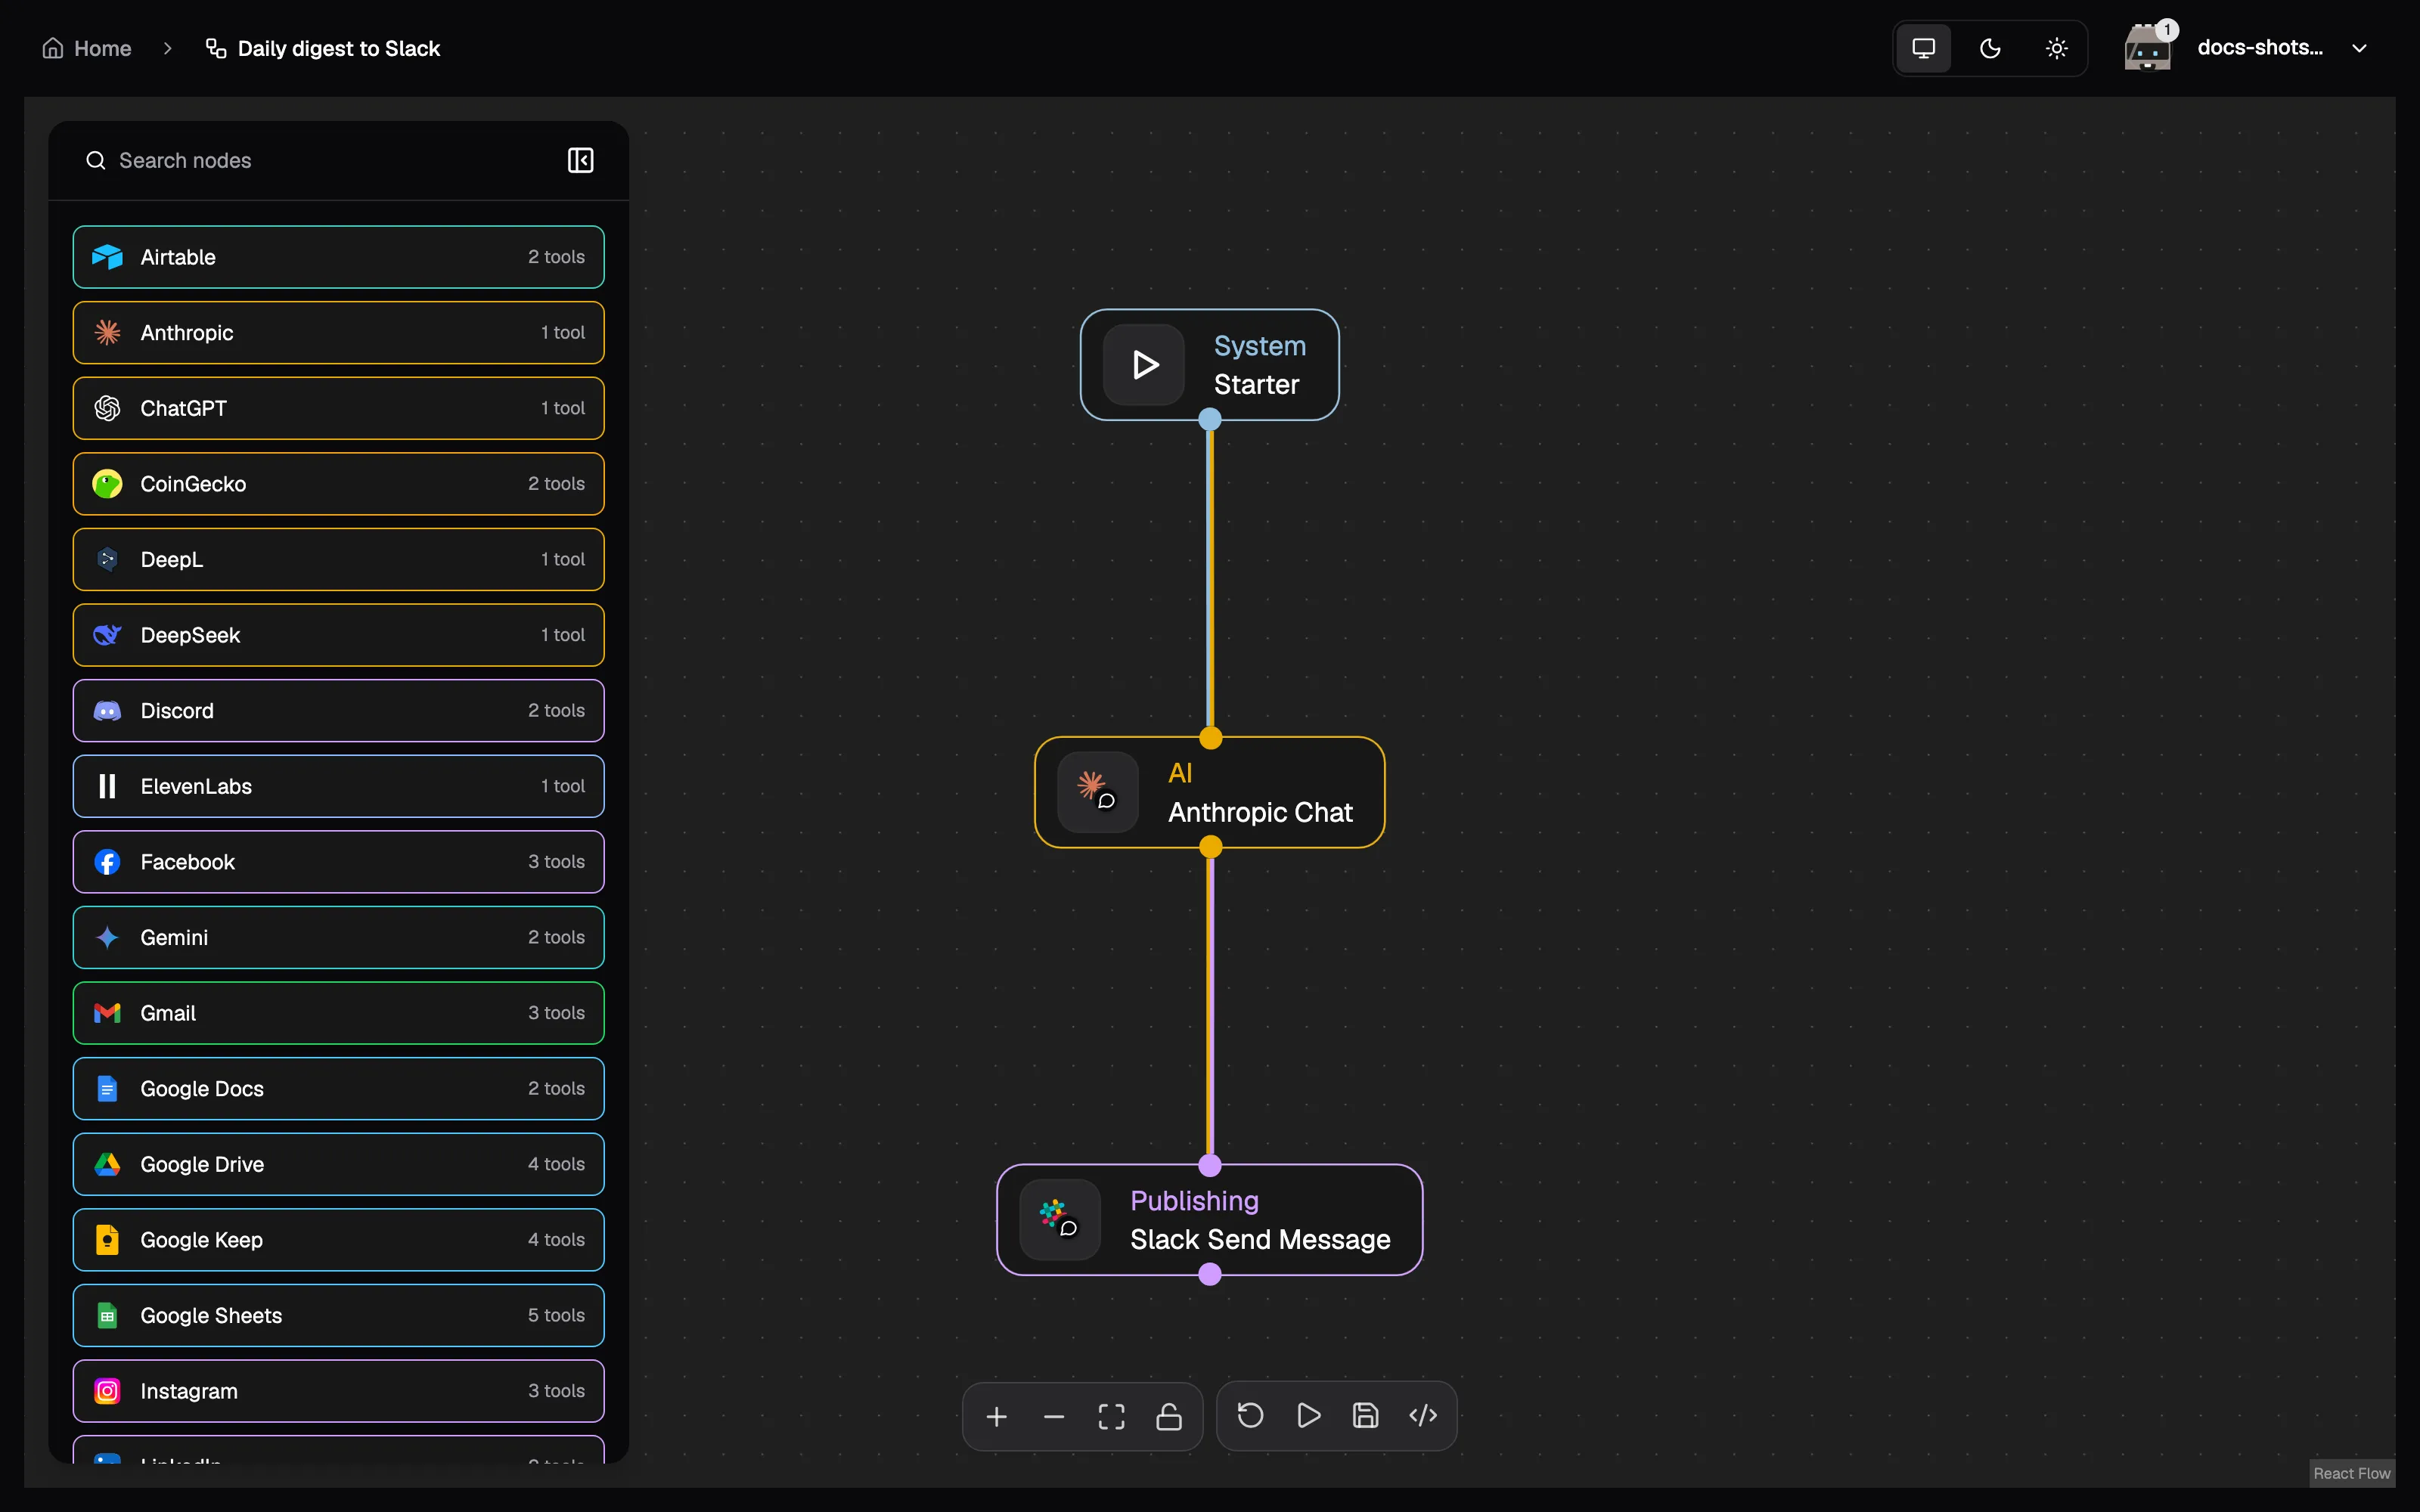
Open the node catalog. Click the sidebar toggle in the top-left of the canvas. Nodes are grouped by the service they talk to — Anthropic, Gmail, Slack, Google Sheets, and so on — each showing how many actions it offers; pick one to see its nodes, or search across all of them. The node reference lists every action with its parameters and outputs.
-
Drag nodes onto the canvas and connect them to define the order. Independent branches run concurrently.
-
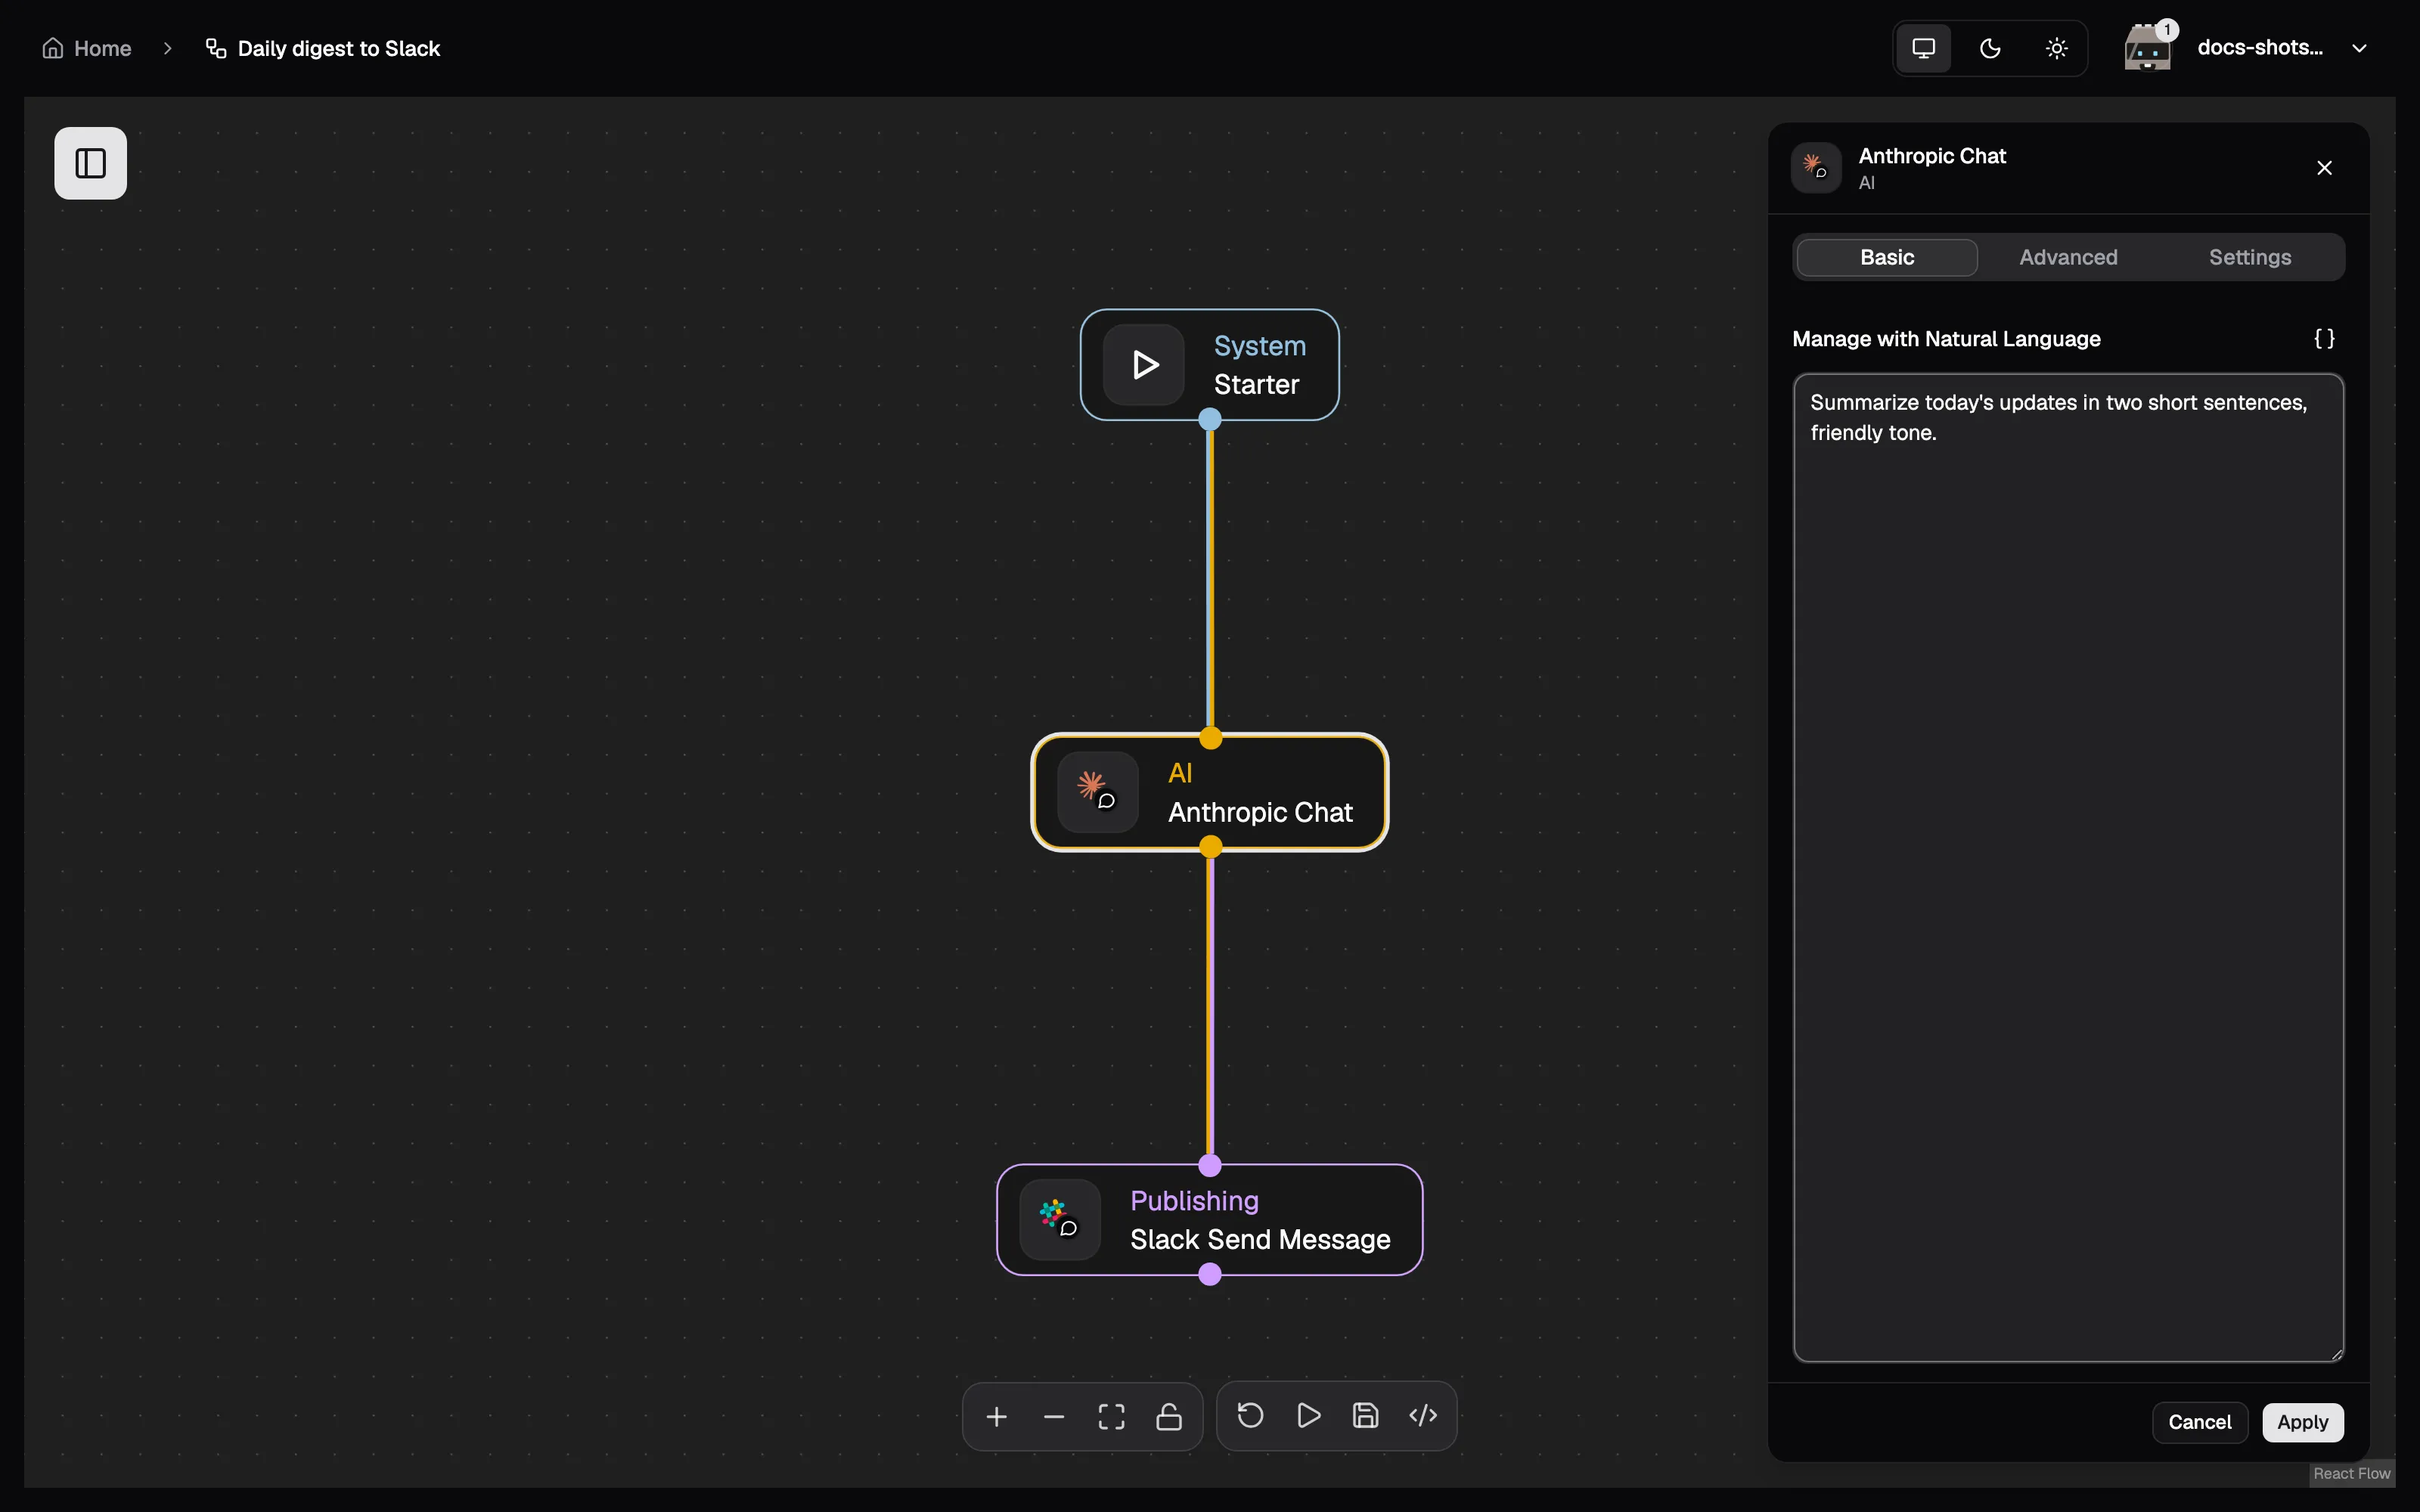
Configure each node — click it to open the settings panel. Two ways:
- Fill the form. Every node has a typed form generated from its schema, with validation built in.
- Describe it. Nodes marked as natural-language capable have a “Manage with Natural Language” box — write plain-language instructions (“summarize the incoming update in two short sentences, friendly tone”) and an LLM fills the parameters at run time. Anything you set explicitly in the form always wins over what the model infers.
-
If a node talks to an external service, attach a credential.
-
Use the toolbar at the bottom of the canvas to revert unsaved changes, run a test, or save the flow.
Prefer not to start from scratch? The AI Flow Builder button (top-left) generates a complete workflow from a plain-language description — see Configuration for enabling it.
Referencing earlier outputs
Section titled “Referencing earlier outputs”Node parameters can reference the output of any upstream node with $ references:
| Reference | Meaning |
|---|---|
$<node>.<field> |
A field from the upstream node’s output record |
$<node>.items[*] |
Every record in the upstream output |
$<node>.items.first() |
Just the first record |
$input.<field> |
The same, for a node fed by exactly one other node — no need to name it |
$trigger.<field> |
Data from whatever triggered the run (source, sender, prompt, payload) |
The editor offers available references as you type, based on each node’s declared output schema — you never guess at field names. Every node upstream of the one you are editing is offered, not just its immediate parent.
Running it
Section titled “Running it”Run the flow manually from the editor, or attach a trigger to start it on a schedule or from an external event. Either way, the live execution view shows every task and node progressing in real time over WebSocket — inputs, outputs, and errors per node, as they happen. See Runs & debugging for what the statuses mean and how to work out why a node failed.