

Quickstart
Get a full BlockNext stack running locally in a couple of minutes.
Prerequisites
Section titled “Prerequisites”Docker is the only thing you have to install:
- macOS — Docker Desktop
- Windows — Docker Desktop, which enables the WSL 2 backend for you
- Linux — Docker Engine with the Compose plugin, or Docker Desktop
Everything below runs in the shell your system already ships with: Terminal on macOS and Linux, PowerShell on Windows. Go, Bun and make are only needed to build from source.
1. Get the code
Section titled “1. Get the code”git clone https://github.com/blocknextai/blocknext.gitcd blocknext2. Create your .env
Section titled “2. Create your .env”The stack reads a single .env file at the repository root, and a setup script in the repository writes it: it copies .env.example and gives each REPLACE_ME_OPENSSL_* placeholder — the database password, the JWT secret, the secret-manager key and the file-gateway keys — its own 32-byte random secret. An existing .env is left untouched.
make setupWithout make — it ships with macOS’s Xcode command line tools and most Linux
distributions, but a bare container image may not have it:
./scripts/setup.shpowershell -ExecutionPolicy Bypass -File scripts\setup.ps1Bypass lets PowerShell run the unsigned script for this one call; it does not change your machine’s execution policy.
Nothing else is required to start. Every other option has a working default and is documented inline in .env.example — see Configuration when you want email delivery, AI features or OAuth logins.
3. Start the stack
Section titled “3. Start the stack”make docker-upWithout make:
docker compose -f docker-compose.prod.yml up -ddocker compose -f docker-compose.prod.yml up -dThis pulls the published images from ghcr.io/blocknextai and starts everything: the web UI, the APIs, the event relay worker and PostgreSQL. Database migrations run automatically in a one-shot container before the services come up, so the first start takes a little longer.
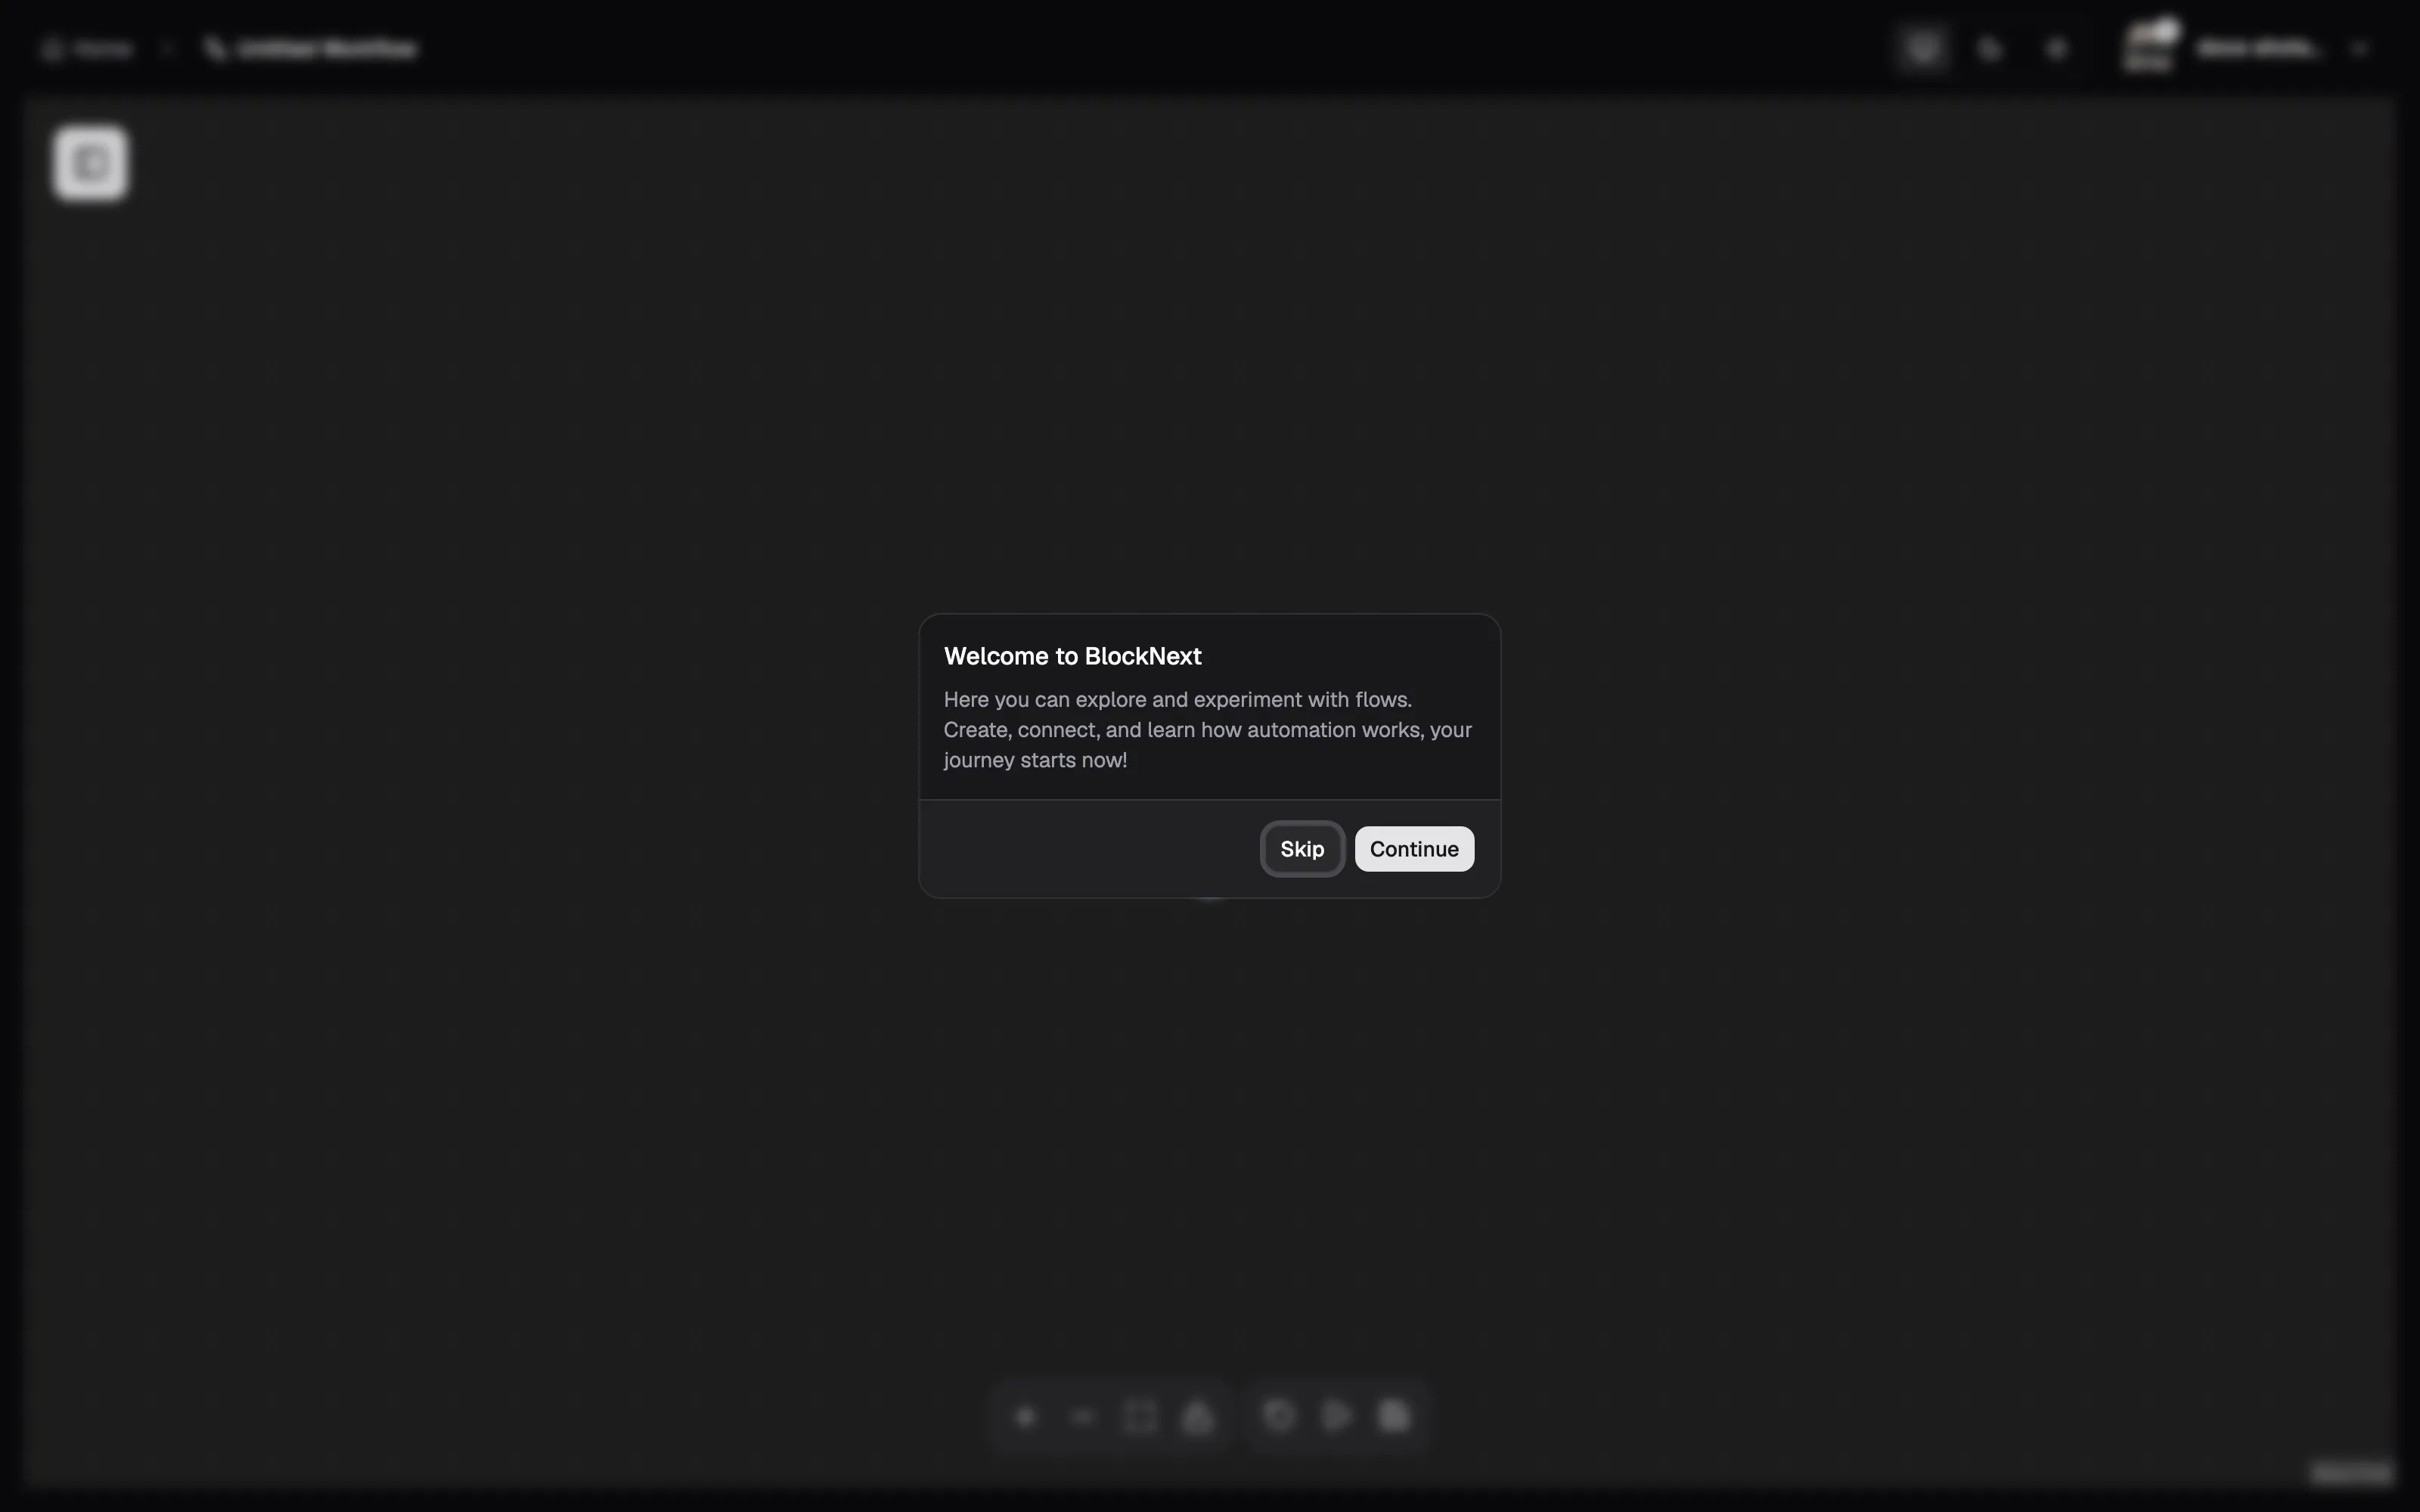
Open http://localhost:4000, create an account, and you’re in. Your first visit starts with a short guided tour of the canvas.
What just started
Section titled “What just started”| Service | Port | Role |
|---|---|---|
| platform (UI) | 4000 | The web app you interact with |
| platform-api | 3000 | Main HTTP/WebSocket API |
| mcp-api | 3100 | MCP servers — nodes as tools, plus the platform server — with OAuth sign-in for MCP clients |
| webhook-api | 3200 | Inbound edge for webhook triggers |
| file-gateway-api | 3300 | File upload/download service |
| event-relay-worker | — | Drains the transactional event outbox |
Seven containers, no Redis: workflows execute inside platform-api, and the cache, realtime broker, leader election and concurrency semaphore all run in-process. Moving execution to a separate task-worker and those subsystems to Redis is a .env change — see Scaling out and Services & ports for the full picture.
Useful commands
Section titled “Useful commands”| What you want | With make |
Plain Docker Compose |
|---|---|---|
| See what is running | make docker-ps |
docker compose -f docker-compose.prod.yml ps |
| Follow the logs | make docker-logs |
docker compose -f docker-compose.prod.yml logs -f |
| Upgrade to newest images | make docker-pull |
docker compose -f docker-compose.prod.yml pull |
| Stop the stack | make docker-down |
docker compose -f docker-compose.prod.yml down |
| Stop and wipe volumes | make docker-clean |
— |
make help lists every target.
Something not coming up? See If something doesn’t start.
Next steps
Section titled “Next steps”- Build your first workflow
- Connect a service with credentials
- Tune your configuration — enable email delivery, AI workflow generation, and more